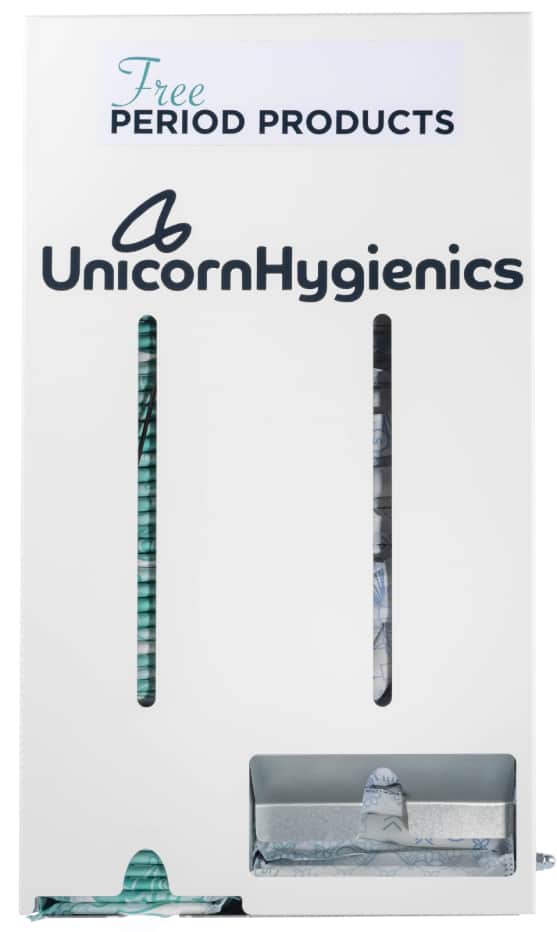
HOW TO INSTALL THE FREEVEND DISPENSER
Step 1: Hold the empty Period Product dispenser up on the wall where you would like to install your dispenser.
Step 2: Using a pencil create a mark where the holes should be drilled.
Step 3: Using a drill, begin drilling 4 holes where you have marked out on the wall.
Step 4: Insert a wall plug into each hole that has been drilled.
Step 5: Using screws, hold your dispenser up to match up with the 4 holes that you have just drilled and add the screws (make sure these are tight to prevent the dispenser falling).
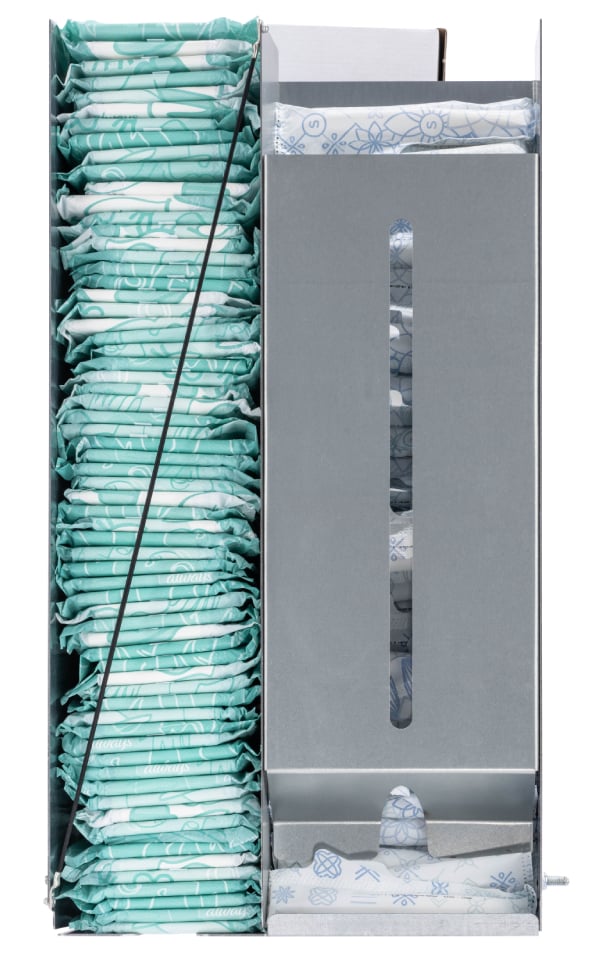
Step 6: When the dispenser is secure you can now add the pads and tampons for dispensing.
.
Step 5: Using screws, hold your dispenser up to match up with the 4 holes that you have just drilled and add the screws (make sure these are tight to prevent the dispenser falling).
Step 6: When the dispenser is secure you can now add the pads and tampons for dispensing.